Show Off Your Machine Learning Project on Web Part 3: Deploy onto Heroku with Docker
TL;DR You can get the example project here.
Motivation
After you create a dockerized environment, you think you should deploy your app on cloud so that you can show off your machine learning project, web development and DevOps skills. In addition, others can access your project with just one click on URL you provide without the knowledge of setting up the environment.
Goal of This Part
This part will teach you how to deploy your dockerized app onto Heroku, and tell you some specialized settings of Heroku when deploying with Docker.
Before Deploy to Heroku
Heroku provides three ways to deploy your dockerized app:
- Container Registry & Runtime (Docker Deploys)
- Building Docker Images with heroku.yml
- Local Development with Docker Compose
As I don’t need Docker components for my app (only one streamlit service), there is no need to use Docker Compose.
Thought Most of posts use Method #1, I will choose Method #2 for these two reasons:
- Rarely the posts mention about this method.
- I write a specialized Dockerfile for Heroku deployment.
The Components We Need
For Method #2, we need at least two files:
Dockerfileheroku.yml: to indicate Heroku what you want for building and deploying.
In my case, I need three files because I like modulization:
Dockerfileheroku.ymlheroku_startup.sh
Dockerfile
Just like part 2 with some changes for Heroku deployment:
1
2
3
4
5
6
7
8
9
10
11
12
13
14
15
16
17
18
19
20
21
22
23
24
25
26
27
28
29
30
31
32
33
34
35
36
37
38
39
40
41
42
43
44
45
46
47
48
FROM ubuntu:18.04
MAINTAINER Cuda Chen <clh960524@gmail.com>

# streamlit-specific commands for config
ENV LC_ALL=C.UTF-8
ENV LANG=C.UTF-8
RUN mkdir -p /root/.streamlit
RUN bash -c 'echo -e "\
[general]\n\
email = \"\"\n\
" > /root/.streamlit/credentials.toml'

RUN bash -c 'echo -e "\
[server]\n\
enableCORS = false\n\
" > /root/.streamlit/config.toml'
# install Python and Pip
#
# NOTE: libSM.so.6 is required for OpenCV Docker
# or you will get seg fault when import OpenCV
RUN apt-get update && \
    apt-get install -y \
    python3.7 python3-pip \
    libsm6 libxext6 libxrender-dev

# expose port 8501 for streamlit
EXPOSE 8501

# make app directiry
WORKDIR /streamlit-docker

# copy requirements.txt
COPY requirements.txt ./requirements.txt

# install dependencies
RUN pip3 install -r requirements.txt

# copy all files over
COPY . .

# set heroku_startup.sh to be executable
RUN chmod +x ./heroku_startup.sh

# download YOLO weights
RUN gdown --output ./yolo-fish/fish.weights --id 1L6JgzbFhC7Bb_5w_V-stAkPSgMplvsmq

# launch streamlit app
ENTRYPOINT "./heroku_startup.sh"
You can see the changes on line 42 and 48. The reasons are that:
- Change the permission of
heroku_startup.shor you will receivepermission deniederror while executingheroku_startup.sh. ENTRYPOINT "./heroku_startup.sh"to tell Docker to executeheroku_startup.shwhen starting the container.
Heroku.yml
Heroku needs heroku.yml to build and deploy Docker Images, so I create one
for my usage:
build:
  docker:
    web: heroku.Dockerfile
run:
  web: ./heroku_startup.sh
Obviously, the build and run sections indicate what you want to do
in build and run stage on Heroku, respectively.
heroku_startup.sh
Mentioned here,
Heroku uses a $PORT environment variable for port exposure. So the
heroku_startup.sh will look like this:
#!/bin/bash

echo PORT $PORT
streamlit run --server.port $PORT app.py
You have to set the $PORT variable to streamlit or your app
will not appear.
Deploy!
This step is rather easy, what you need is to deploy with Git.
Then Heroku will use Heroku.yml rather Procfile to deploy your app
with Docker.
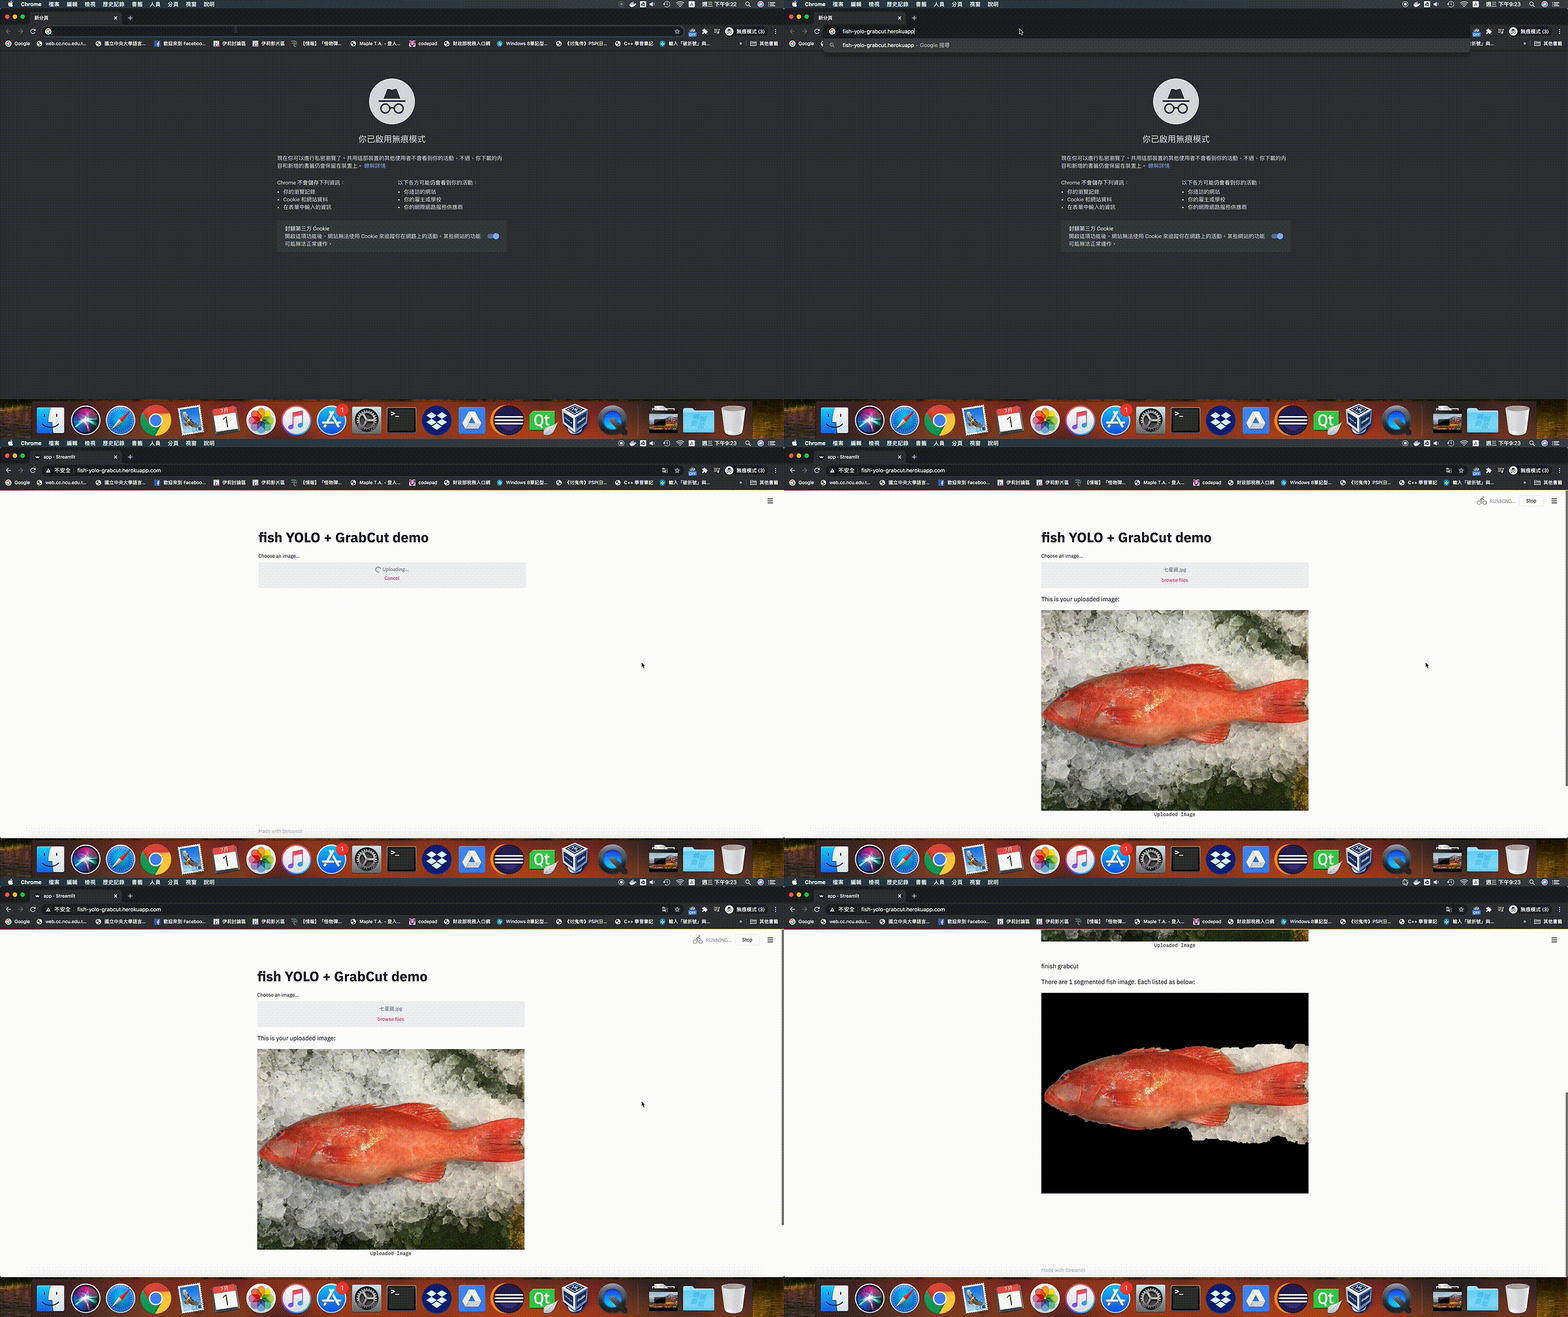
Demo

Recap
This part shows how to deploy your machine learning app onto Heroku and mention some special setting on Heroku.
I hope this series can help you to combine your machine learning app with web and DevOps development cycle so that you can catch up the trend and won’t be mocked by web development company!